
Alcorn State University Account Activation
Your University Account credentials grant you access to Alcorn’s digital services, including
Canvas, Office 365, Campus Wi-Fi, and Banner. Follow these three parts to get connected.
👤
Part I: Verify Your Identity
Part I: Verify Your Identity
- 1.Access the Portal: Navigate to the Account Activation Portal.
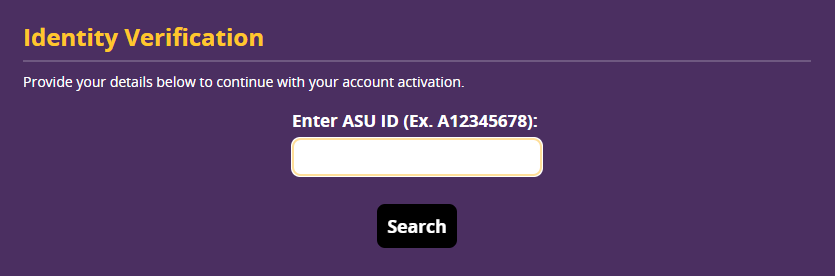
- 2.Locate Your Profile: Enter your A Number and click Search.
- 3.Provide Identification:
- Enter your Date of Birth.
- Enter the Last 4 digits of your SSN and click Verify.
International Students enter the last 4 digits of your Student ID.
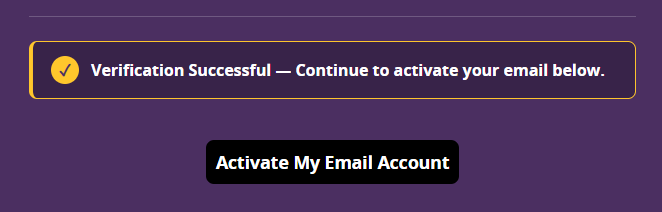
- 4.Confirm and Proceed: Once verified, click Activate My Email Account.
🔑
Part II: Activate Your Account (Gold Credential Services)
Part II: Activate Your Account (Gold Credential Services)
- 1.Acceptable Use Policy:
- Review the policy, select I accept, and click Continue.
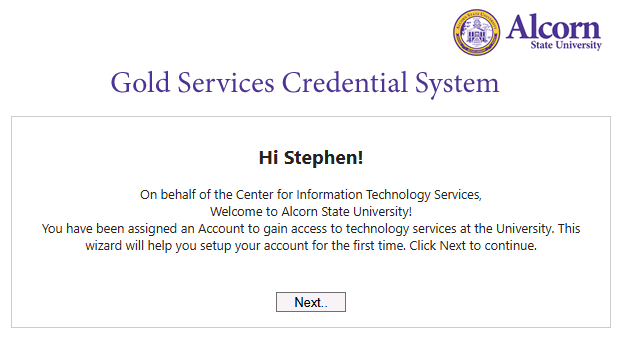
- 2.Create Your Password: Choose a password with at least 12 characters and at least 3 of these:
- Uppercase letter
- Lowercase letter
- Numbers
- Special characters (!#$%)
- 3.Validate and Finalize:
- Re-enter your password and press Enter.
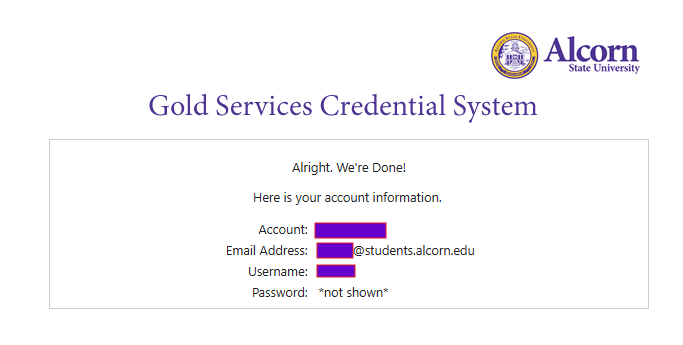
- A confirmation screen will provide account details, including your ASU email address.
Write this down!
📱
Part III: Set Up Multi-Factor Authentication (MFA)
Part III: Set Up Multi-Factor Authentication (MFA)
MFA is required for all University services. A computer and a smartphone are strongly recommended for MFA setup.
- 1.Access the MFA Portal: On your computer, go to https://mfa.alcorn.edu and log in using your Alcorn email and password.
If the ‘Pick an account’ prompt appears and your ASU email is not shown, select ‘+ Use another account’ and enter your ASU email. - 2.Install the App: On your smartphone, download Microsoft Authenticator from the App Store on iOS or Google Play on Android.
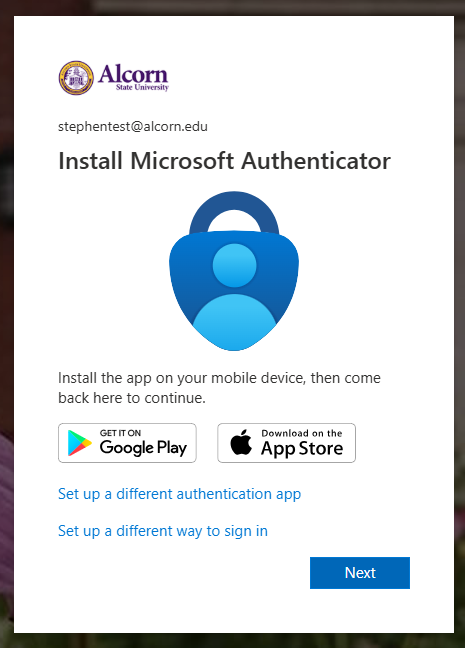
- 3.Connect Your Account:
- On your computer, click Next until a QR code appears.
- On your smartphone app, select Scan a QR code.
- 4.Scan and Verify:
- Scan the computer’s QR code with your phone.
- Enter the code shown on your computer into the input box on smartphone.
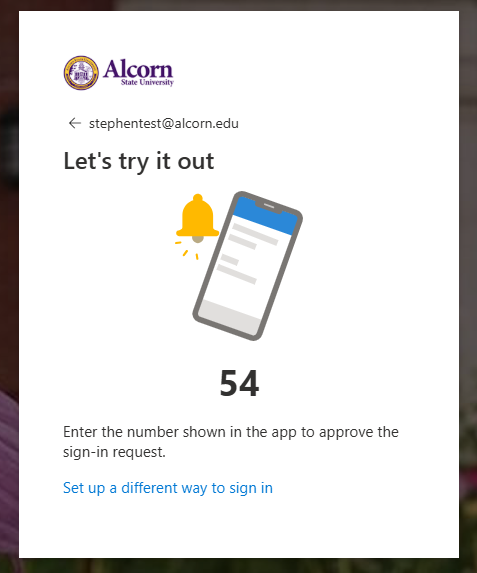
- 5.Success: You will see a confirmation once setup is complete! ✅
🆘
Need Help?
Need Help?
If you run into any issues, the CITS Help Desk is here to assist:
📞 Phone: 601-877-CITS (2487)
📧 Email: [email protected]